Resin pens are becoming increasingly popular among crafters and pen enthusiasts alike. These stunning writing instruments combine functionality with artistic expression, making them a perfect project for beginners and seasoned artisans. Whether you're looking to create a personalized gift or start a small business, learning how to make resin pens can be both rewarding and profitable. In this guide, we will walk you through every step of the process, from selecting materials to finishing touches, ensuring you have all the information you need to succeed.
Resin pen making involves a combination of creativity and technical skill. The process allows you to experiment with colors, patterns, and inclusions, resulting in unique and eye-catching designs. With the right tools and techniques, you can produce high-quality pens that are not only beautiful but also durable and functional. This article is designed to provide you with expert advice, authoritative insights, and trustworthy guidance, ensuring your resin pen-making journey is both enjoyable and successful.
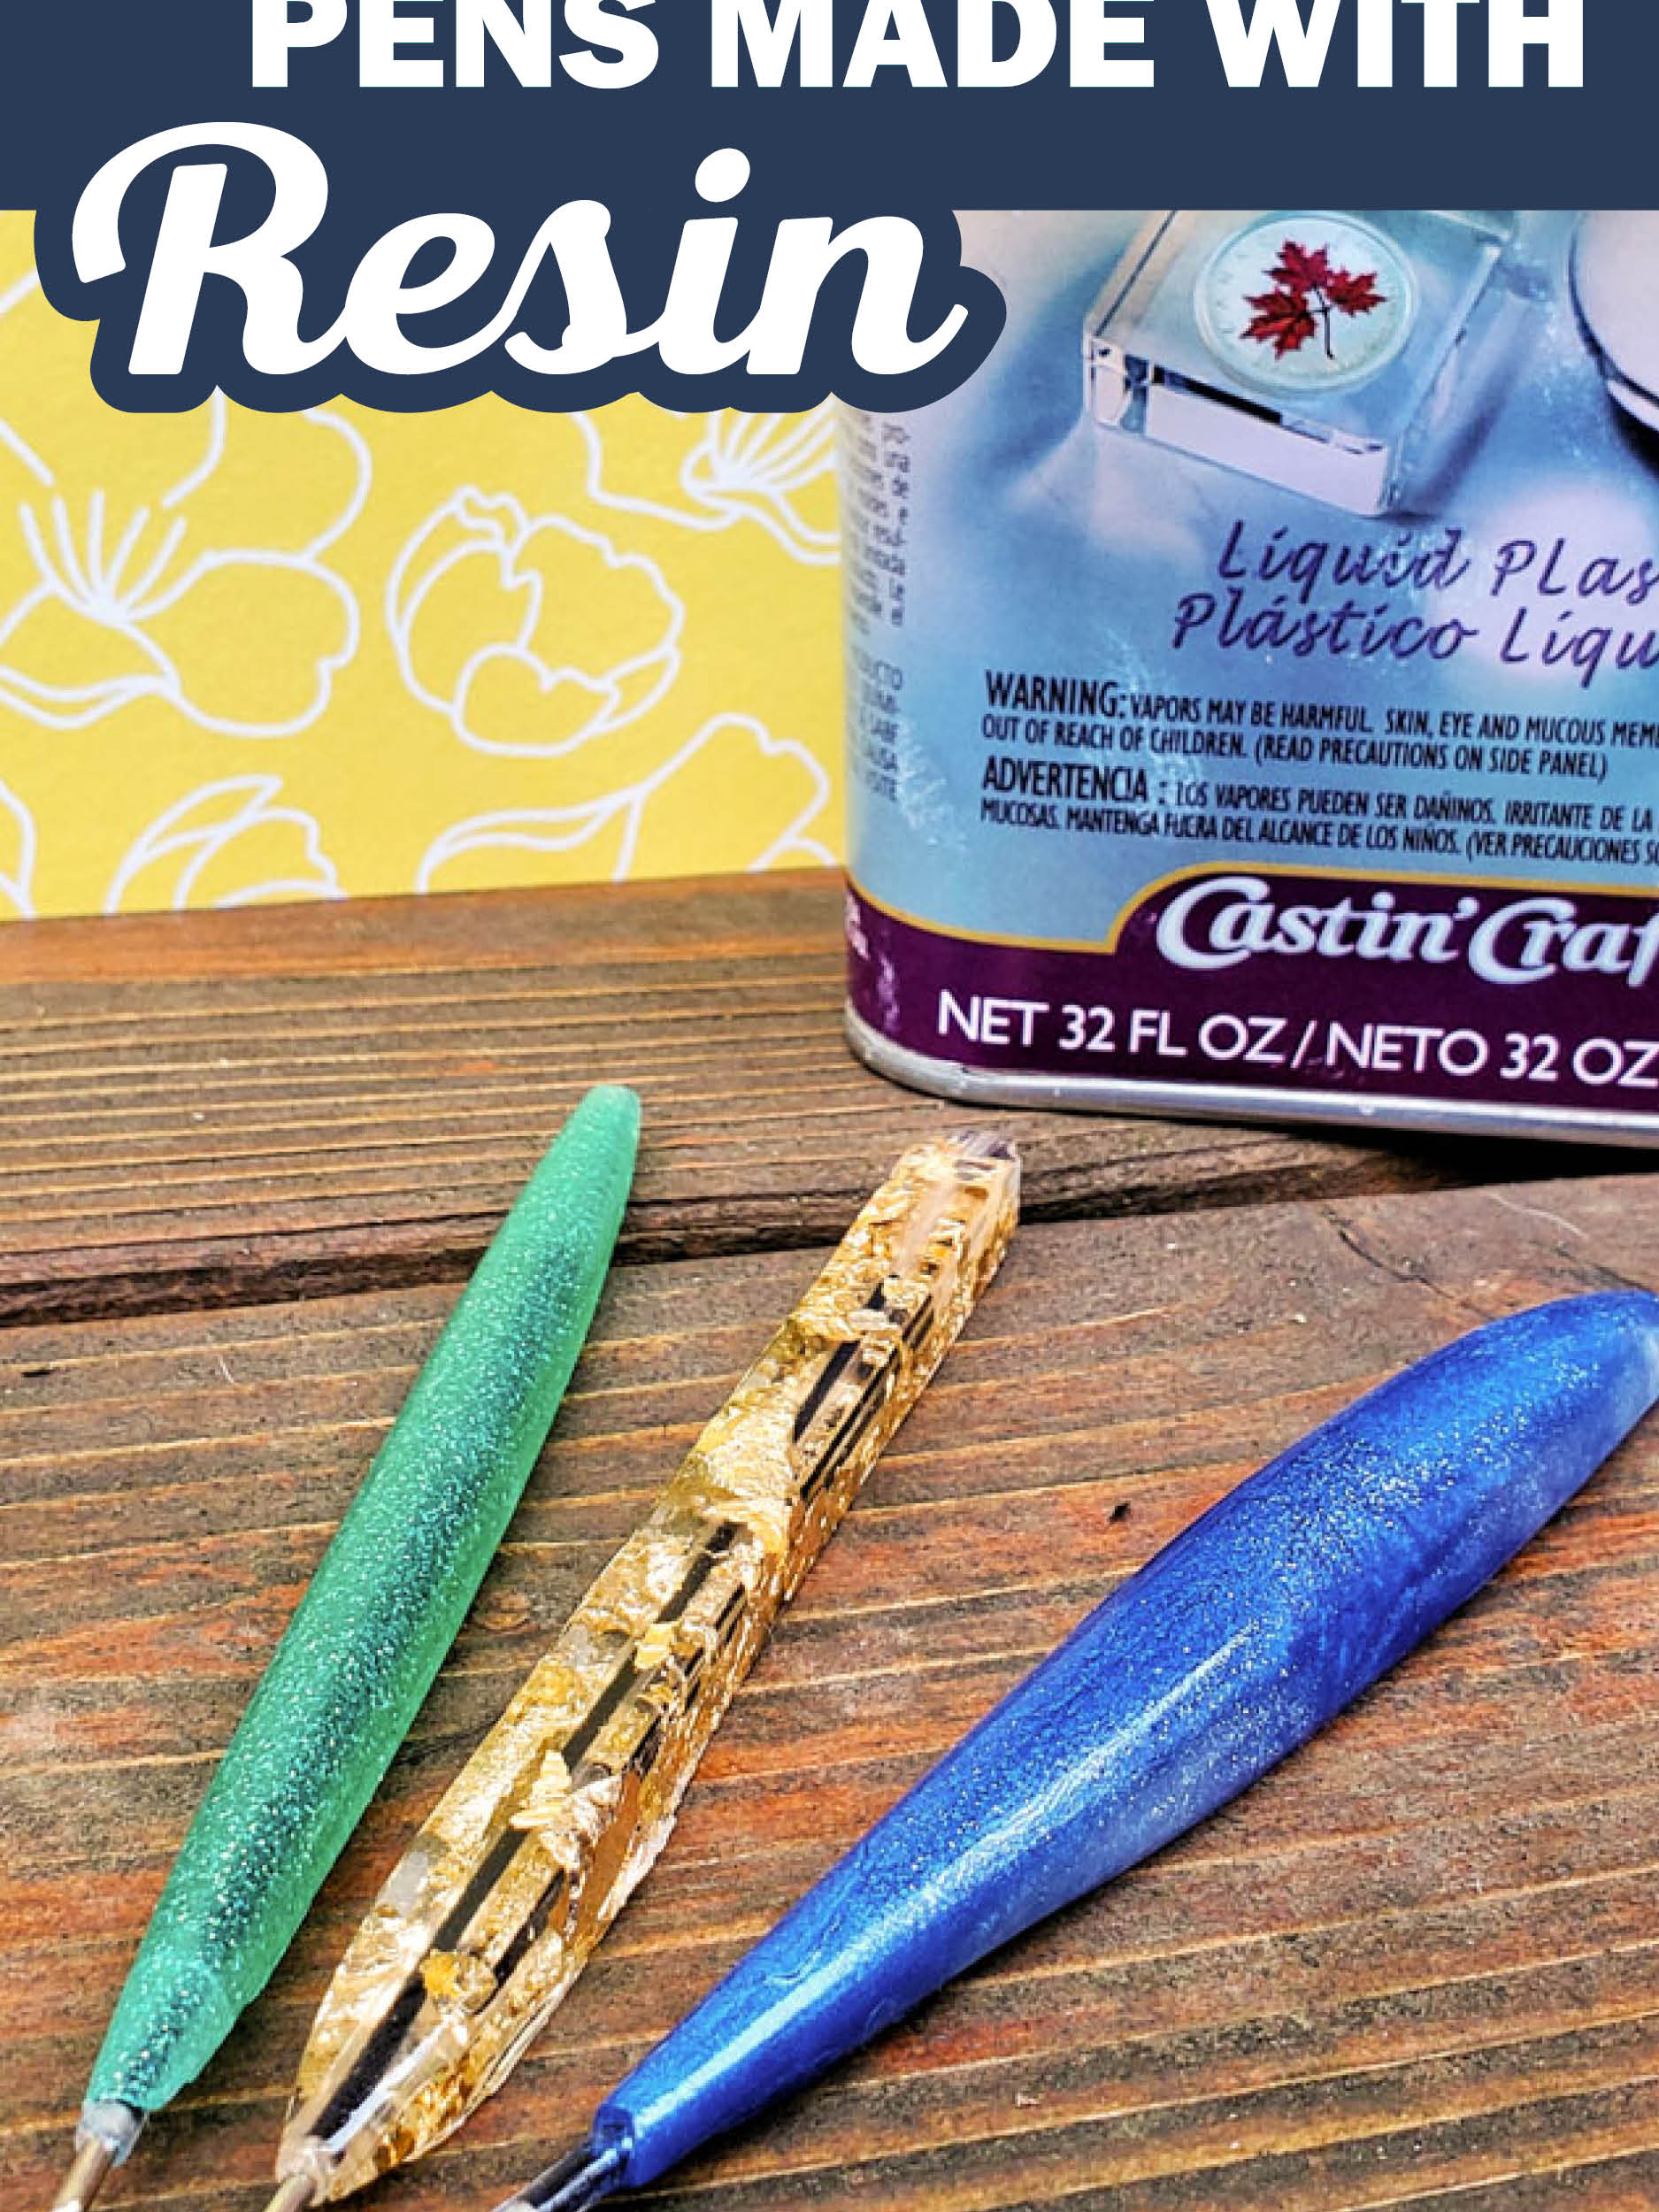
Before diving into the specifics of resin pen creation, it's important to understand the basics. Resin pens are typically made using epoxy resin, a versatile material that cures into a hard, glossy finish. This material is perfect for embedding objects like glitter, dried flowers, or even small trinkets, allowing you to create truly personalized designs. By following this guide, you'll gain a comprehensive understanding of the tools, materials, and techniques required to craft your own resin pens.
Read also:Discover The Charm Of Old Barnwell Golf A Golfers Paradise
Table of Contents
Introduction to Resin Pens
Resin pens are a fusion of art and functionality, offering a canvas for creativity while serving as practical writing tools. These pens are crafted by embedding epoxy resin into pen blanks, which are then turned and polished to create a smooth, glossy finish. The versatility of resin allows for endless design possibilities, making each pen a one-of-a-kind creation. Whether you're a hobbyist or a professional artisan, resin pens provide an opportunity to showcase your artistic flair.
Why Choose Resin Pens?
There are several reasons why resin pens have gained popularity in recent years:
- Customization: Resin pens allow you to incorporate personal elements, such as colors, patterns, and inclusions, making them ideal for personalized gifts.
- Durability: When cured properly, epoxy resin is highly durable and resistant to scratches, ensuring your pens last for years.
- Aesthetic Appeal: The glossy finish and vibrant colors of resin pens make them visually striking and appealing to collectors.
History of Resin Pens
The use of resin in crafting dates back to the mid-20th century, but its application in pen making has gained momentum in the past decade. Advances in epoxy resin technology have made it more accessible and user-friendly, allowing artisans to experiment with new techniques and designs. Today, resin pens are celebrated for their beauty and craftsmanship, often featured in art exhibitions and craft fairs worldwide.
Tools and Materials You'll Need
Before you begin making resin pens, it's essential to gather all the necessary tools and materials. Having the right equipment ensures a smooth and efficient crafting process, minimizing the risk of errors or imperfections.
Basic Tools for Resin Pen Making
Here is a list of essential tools you'll need:
- Pen Kit: Includes pen tubes, hardware, and a pen mandrel for assembly.
- Resin and Hardener: High-quality epoxy resin is crucial for achieving a durable finish.
- Mold or Pen Blank: Used to shape the resin into the desired pen form.
- Mixing Cups and Stir Sticks: For accurately measuring and mixing the resin.
- Sanding Tools: Sandpaper or a rotary tool for smoothing and shaping the pen.
- Polishing Supplies: Buffing pads and polishing compounds for achieving a glossy finish.
Optional Materials for Enhanced Designs
To take your resin pens to the next level, consider incorporating the following materials:
Read also:Chuu Have You Seen This Woman Discovering The Rising Kpop Star
- Pigments and Dyes: Add color and depth to your designs.
- Inclusions: Glitter, dried flowers, or metallic flakes for added visual interest.
- Mica Powders: Create shimmering effects and unique patterns.
How to Prepare the Resin
Proper preparation of the resin is crucial for achieving a flawless finish. This step involves measuring, mixing, and degassing the resin to ensure it cures correctly and free of bubbles.
Measuring and Mixing the Resin
Begin by carefully measuring the resin and hardener according to the manufacturer's instructions. Use a digital scale for accuracy, as improper ratios can lead to curing issues. Once measured, mix the two components thoroughly in a clean container. Stir slowly to avoid introducing air bubbles, which can mar the final appearance of your pen.
Degassing the Resin
After mixing, place the resin in a vacuum chamber or use a heat gun to remove any trapped air bubbles. This process, known as degassing, ensures a smooth and bubble-free surface. If a vacuum chamber is not available, gently heating the resin with a heat gun can help eliminate bubbles effectively.
Designing Your Pen
Designing your resin pen is where your creativity truly shines. This step allows you to experiment with colors, patterns, and inclusions, creating a pen that reflects your personal style.
Choosing Colors and Patterns
Consider the aesthetic you want to achieve when selecting colors and patterns. You can create a gradient effect, layer different colors, or incorporate intricate designs using mica powders and pigments. Experiment with small batches of resin to test your ideas before committing to the final design.
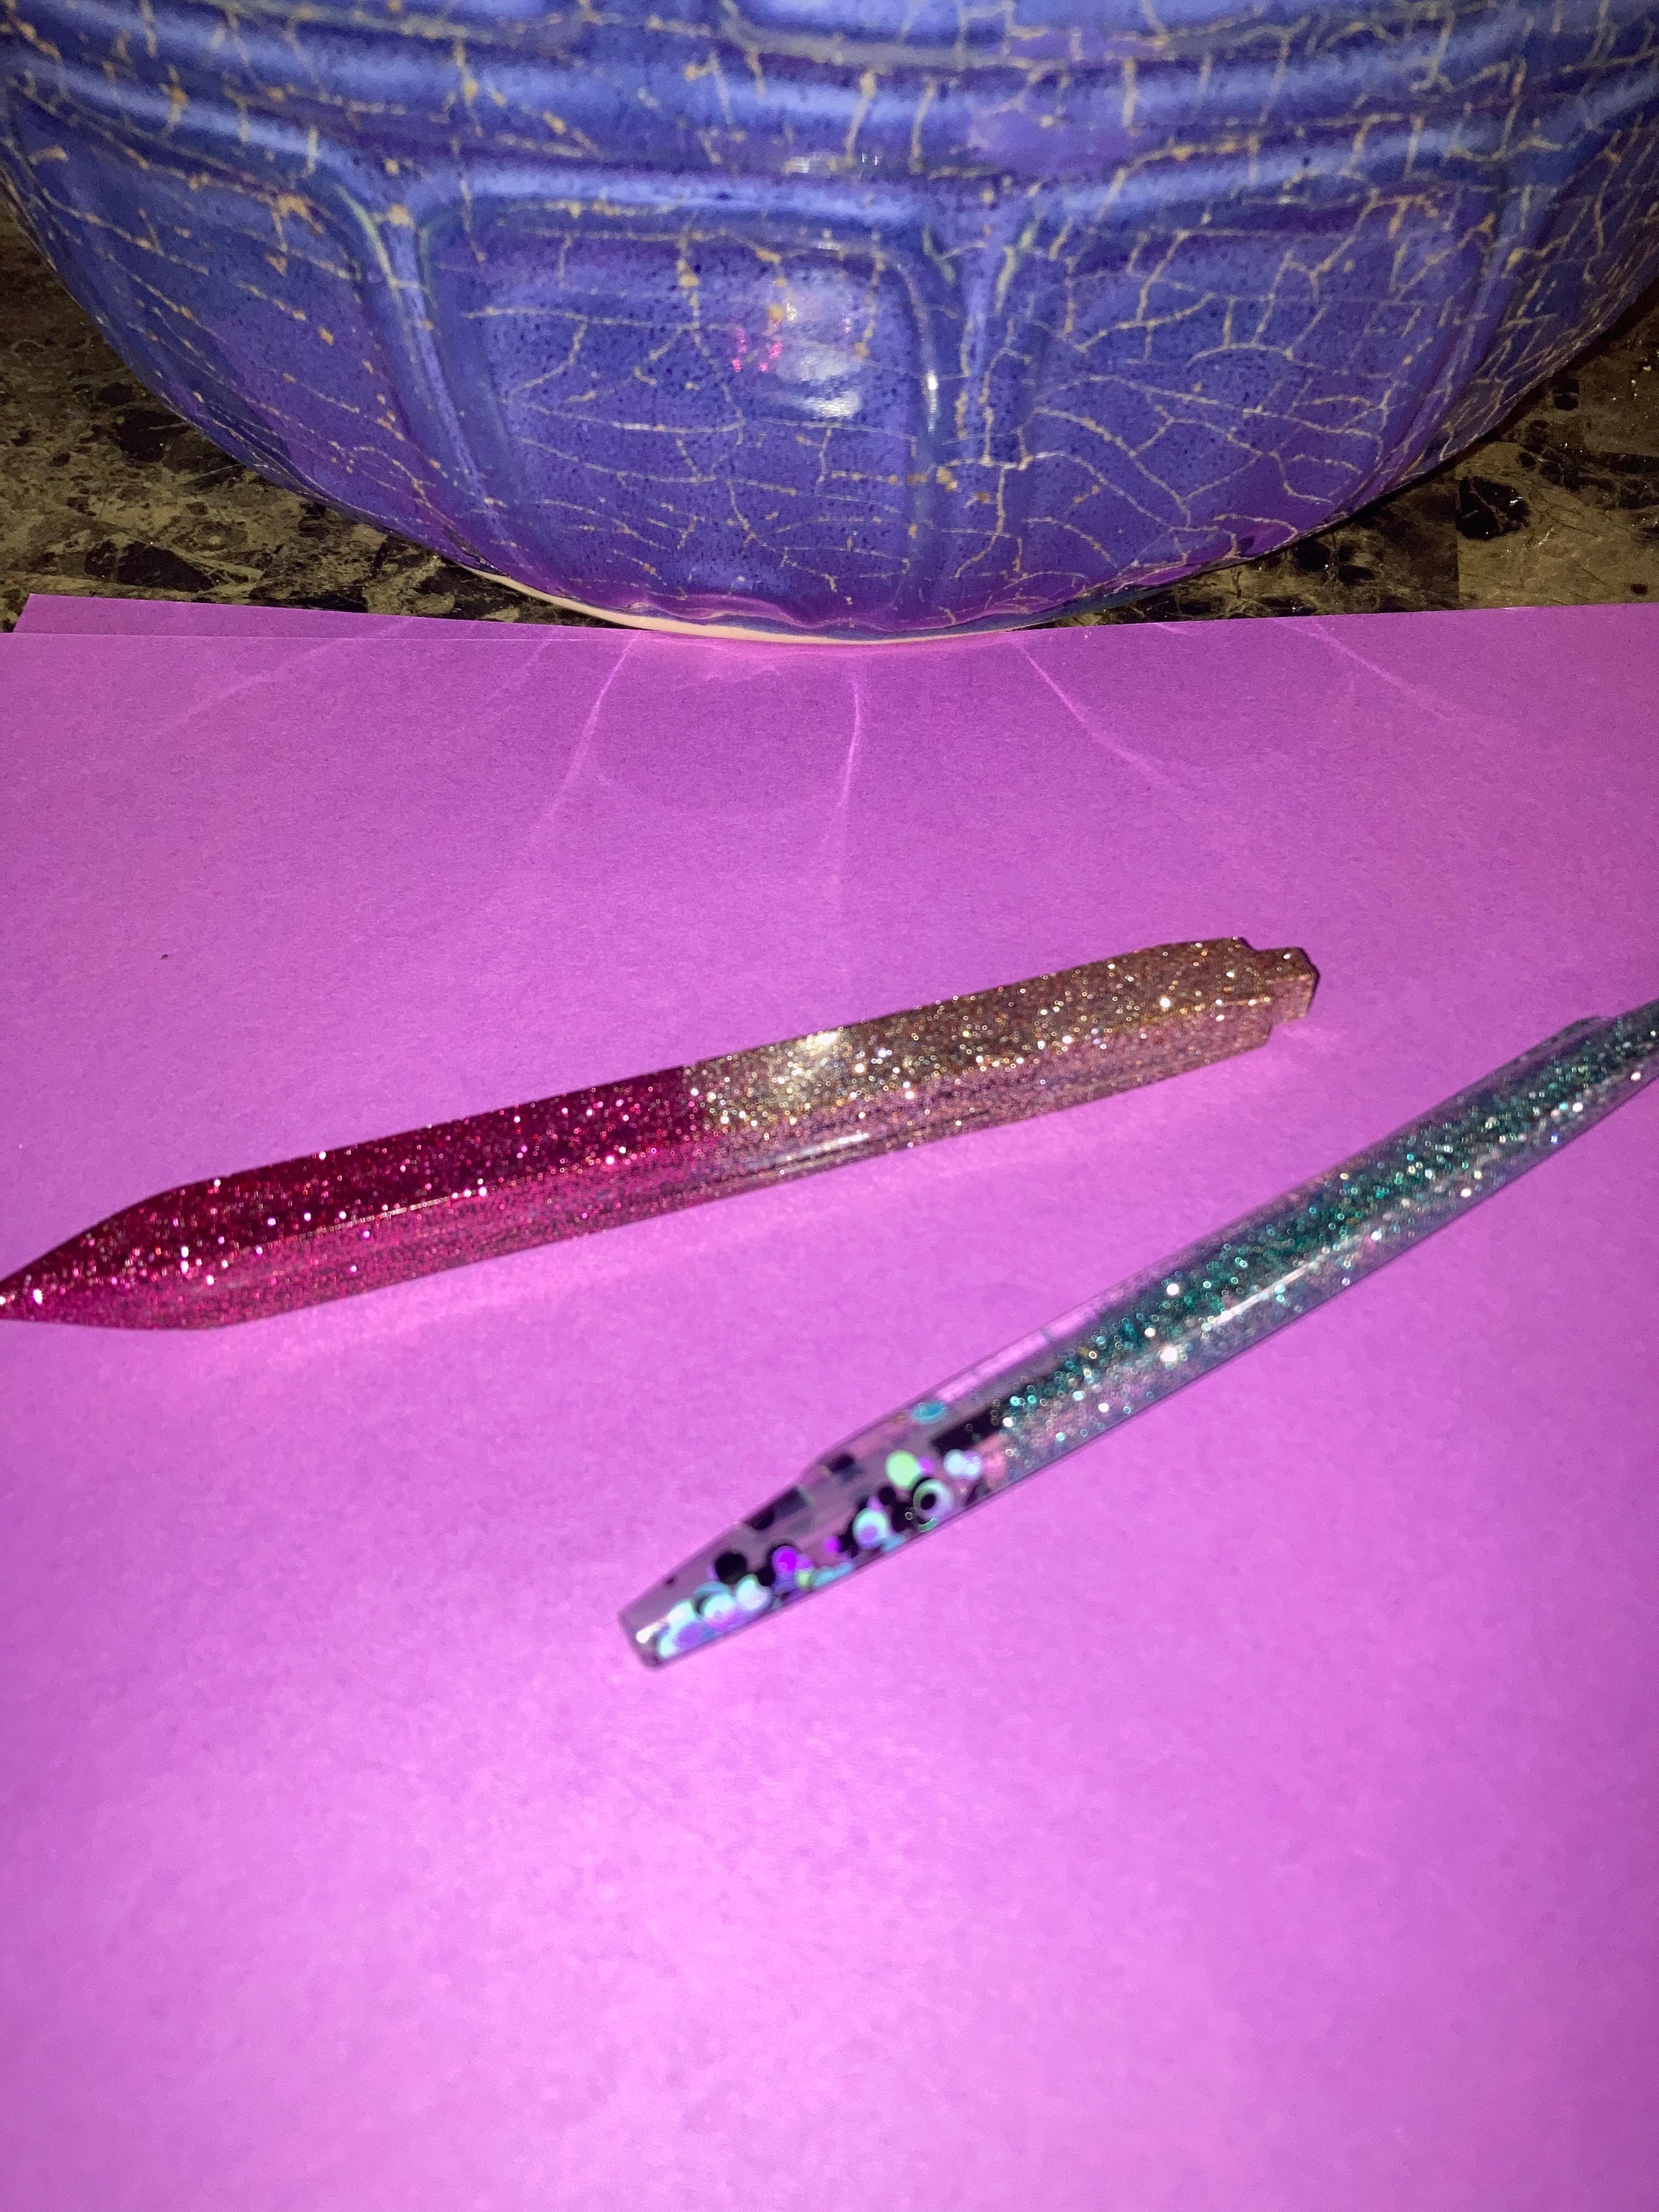
Incorporating Inclusions
Inclusions such as glitter, dried flowers, or metallic flakes can add texture and visual interest to your pen. Place these elements strategically within the mold to ensure they are evenly distributed and visible in the final product. Be mindful not to overcrowd the design, as this can affect the clarity and finish of the resin.
Casting the Resin
Once your design is ready, it's time to cast the resin into the mold or pen blank. This step requires precision and patience to ensure the resin cures properly and achieves the desired finish.
Filling the Mold
Pour the prepared resin into the mold or pen blank slowly and steadily to avoid introducing air bubbles. Use a toothpick or small tool to adjust the inclusions and ensure they are positioned correctly. Allow the resin to cure for the recommended time, as specified by the manufacturer.
Demolding and Shaping
After the resin has fully cured, carefully remove it from the mold. Use sandpaper or a rotary tool to shape the pen blank, smoothing any rough edges and preparing it for assembly. This step is crucial for achieving a professional and polished look.
Finishing Touches
The final step in making resin pens is applying the finishing touches. This involves assembling the pen components and polishing the surface to achieve a glossy finish.
Assembling the Pen
Using a pen mandrel, assemble the pen components according to the instructions provided with your pen kit. Ensure all parts are securely attached and aligned for smooth operation. This step requires attention to detail to ensure the pen functions correctly.
Polishing the Surface
Use buffing pads and polishing compounds to bring out the shine of the resin. Start with a coarse grit and gradually move to finer grits for a flawless finish. This step enhances the visual appeal of your pen and ensures it feels smooth to the touch.
Common Mistakes to Avoid
Making resin pens can be challenging, especially for beginners. Here are some common mistakes to watch out for:
- Improper Mixing Ratios: Always follow the manufacturer's instructions for resin and hardener ratios.
- Air Bubbles: Take the time to degas the resin thoroughly to avoid bubbles in the final product.
- Rushing the Curing Process: Allow the resin to cure completely before demolding or sanding.
Advanced Techniques for Unique Designs
Once you've mastered the basics, you can explore advanced techniques to create even more intricate and unique designs. These include:
- Layering: Build up layers of resin to create depth and dimension.
- Inlay Work: Embed small objects or patterns within the resin for a 3D effect.
- Swirling: Use tools to create swirling patterns and marbled effects.
Troubleshooting Common Issues
Even experienced resin artists encounter challenges. Here are some common issues and how to address them:
- Sticky Resin: Ensure the resin and hardener are mixed thoroughly and in the correct ratios.
- Cloudy Finish: Check for moisture contamination and use a dehumidifier if necessary.
- Cracking: Avoid overheating the resin during curing and allow it to cure slowly.
Conclusion and Call to Action
Making resin pens is a rewarding and creative endeavor that combines artistry with functionality. By following the steps outlined in this guide, you can create stunning pens that are both beautiful and durable. Whether you're crafting for personal enjoyment or as a business venture, the possibilities are endless.
We hope this comprehensive guide has inspired you to embark on your resin pen-making journey. Share your creations with us in the comments below, and don't forget to explore our other articles for more crafting tips and ideas. Happy crafting!