Are you looking for a fun and engaging craft project that combines creativity with functionality? DIY clay magnets are the perfect solution! These charming little creations allow you to express your artistic side while making something practical for your home or office. Whether you're a seasoned crafter or a beginner, crafting clay magnets is an enjoyable activity that can be customized to suit any style or occasion. In this article, we'll guide you through the entire process, from choosing the right materials to adding the finishing touches.
Clay magnets are not only a great way to personalize your space but also make thoughtful handmade gifts for friends and family. With endless design possibilities, you can create magnets that reflect your personality or match your home decor. In the following sections, we’ll dive deeper into the materials you’ll need, step-by-step instructions, and tips to ensure your DIY clay magnets turn out beautifully. By the end of this guide, you’ll have all the knowledge and inspiration you need to start crafting your own unique clay magnets.
Before we get started, it’s important to note that this project is beginner-friendly and can be completed with minimal tools and supplies. Whether you’re crafting alone, with kids, or as part of a group activity, this project is sure to bring joy and satisfaction. So, let’s explore the world of DIY clay magnets and unlock your creative potential!
Read also:Discover The Inspiring Journey Of Bob Obrien
Table of Contents
- Introduction to DIY Clay Magnets
- Materials You Need
- Step-by-Step Guide
- Design Ideas for Your Clay Magnets
- Tips and Tricks for Perfect Clay Magnets
- Common Mistakes to Avoid
- Benefits of DIY Crafts for Mental Health
- Safety Precautions While Working with Clay
- Popular Types of Clay for Crafting
- Conclusion
Introduction to DIY Clay Magnets
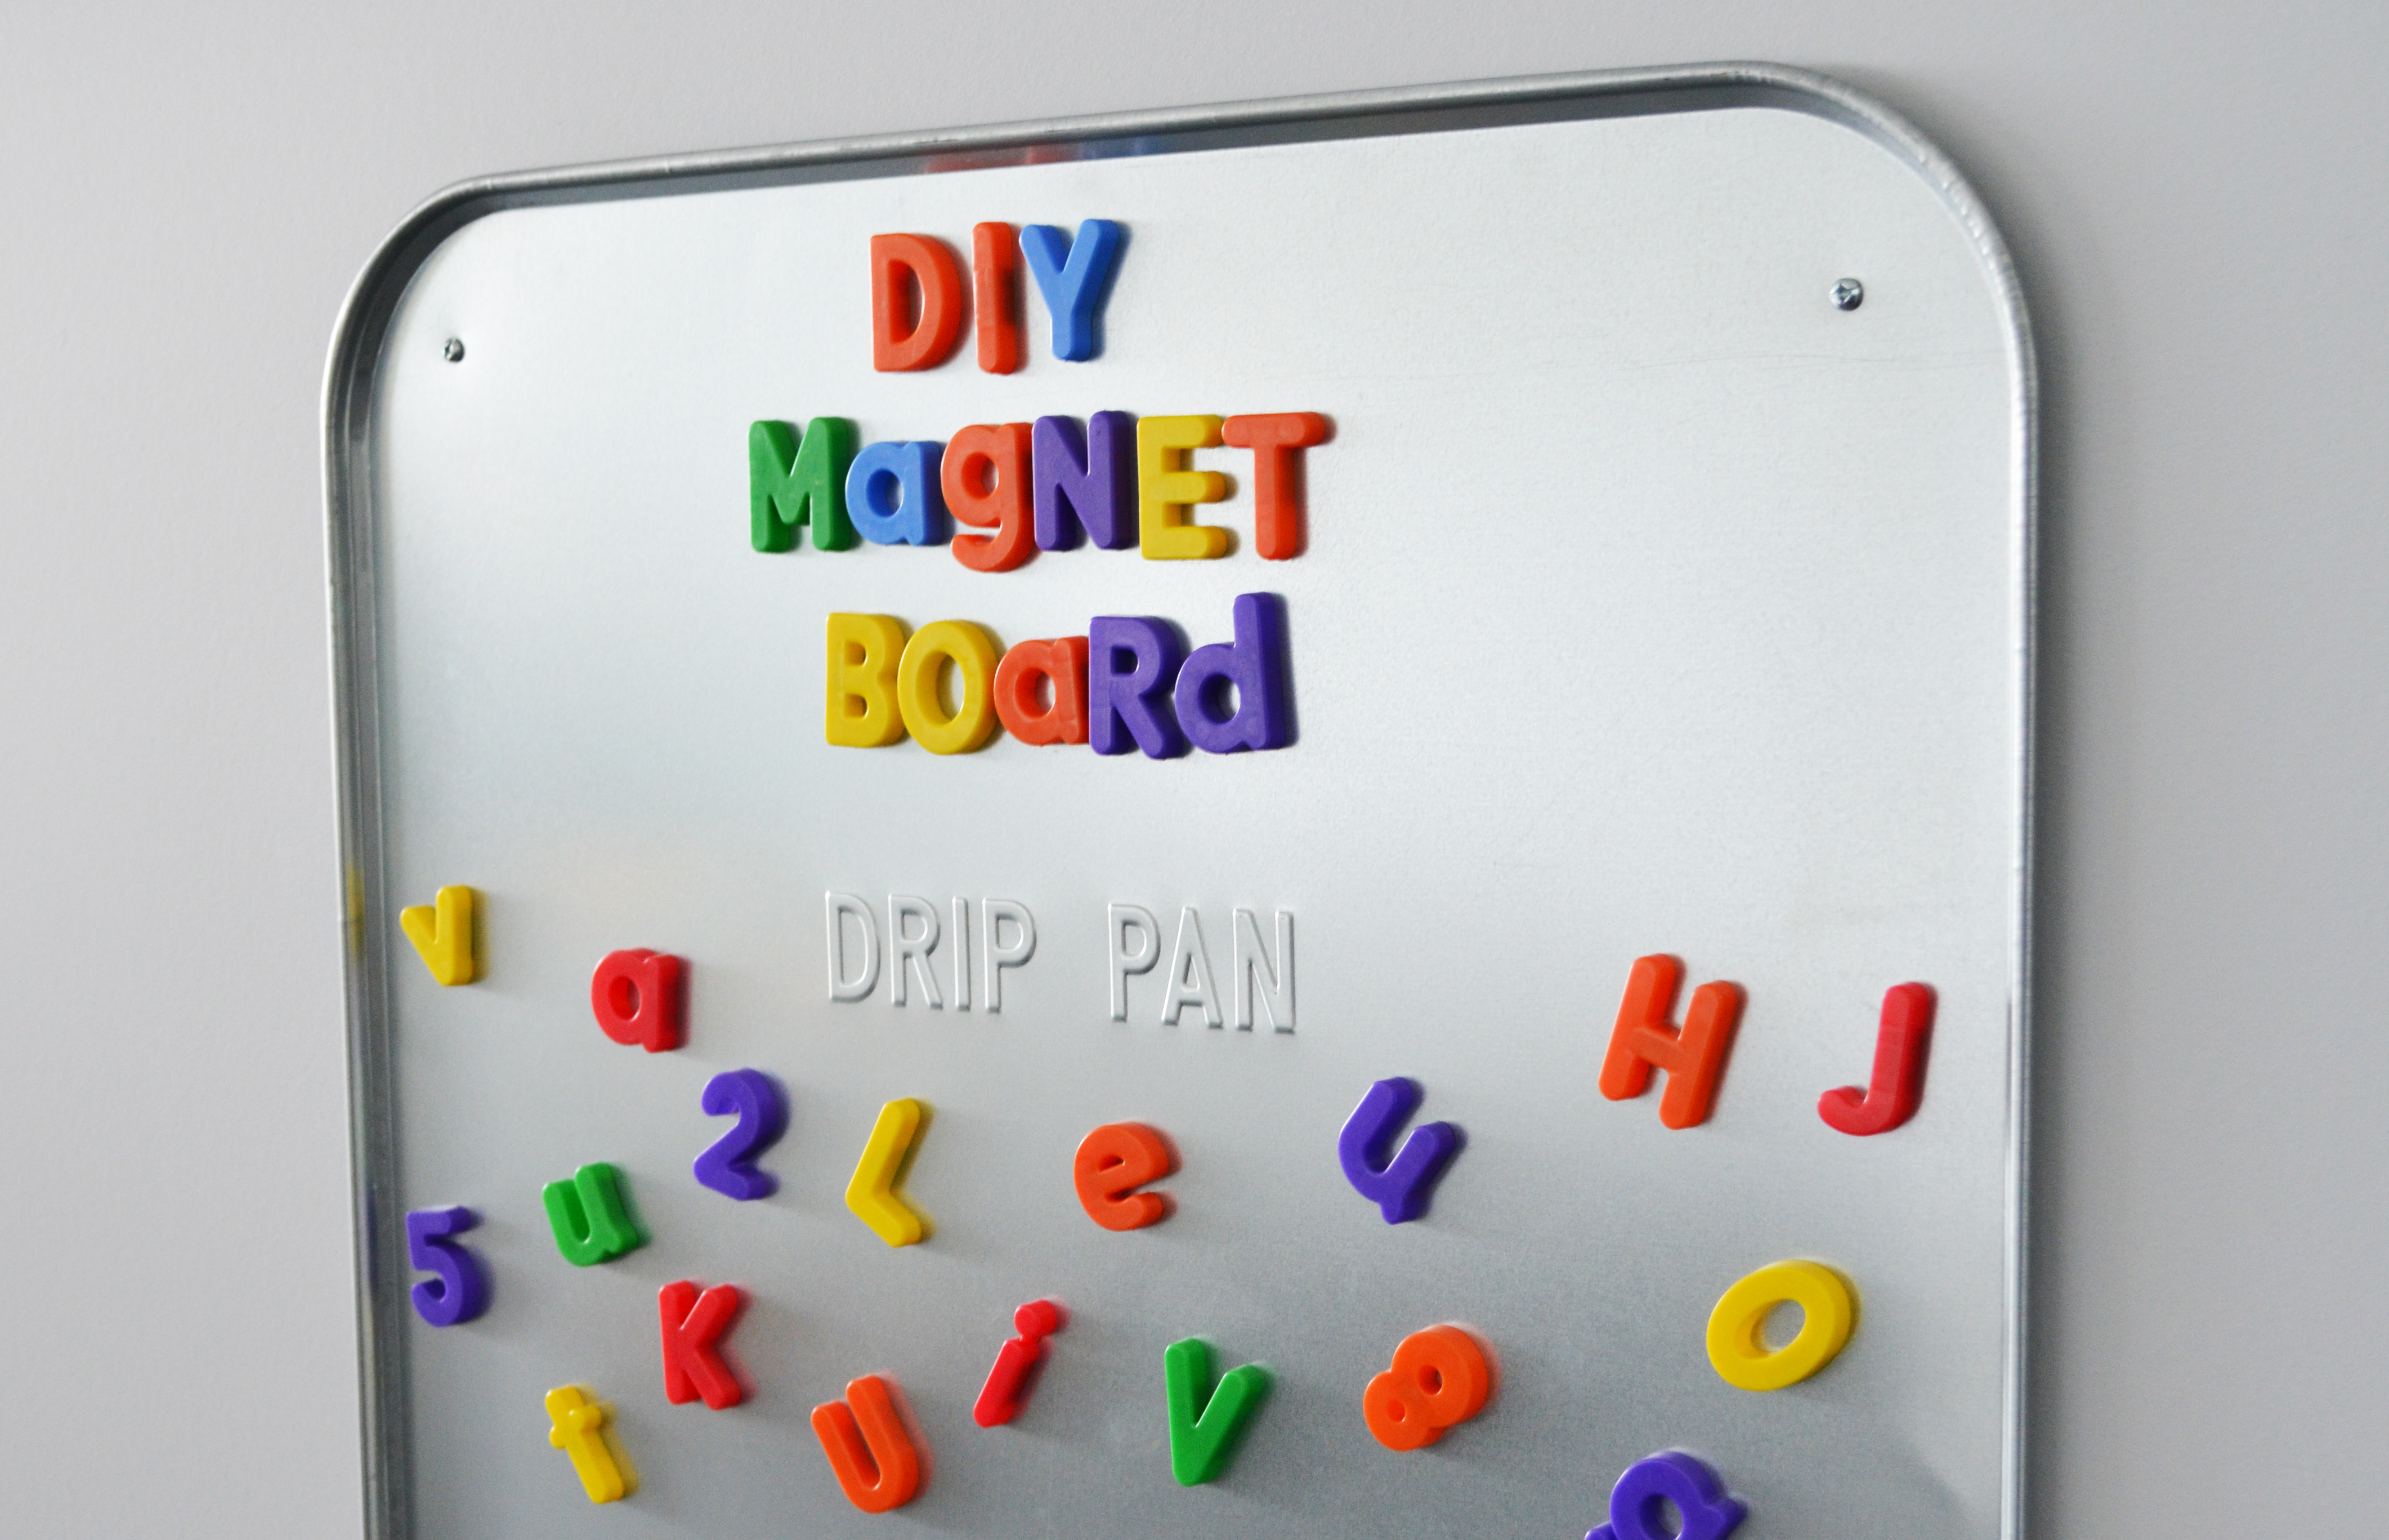
DIY clay magnets have gained immense popularity in recent years due to their versatility and ease of creation. These small, decorative magnets can be used to hold notes, photos, or reminders on metal surfaces like refrigerators, filing cabinets, or whiteboards. They are also an excellent way to add a personal touch to your living space or office environment. The best part? You don’t need to be an expert artist to create beautiful clay magnets. With a bit of patience and creativity, anyone can master this craft.
Clay magnets are particularly appealing because they allow for complete customization. You can experiment with different shapes, colors, and textures to create designs that suit your preferences. For example, you can make seasonal magnets for holidays like Christmas or Halloween, or create themed magnets for special occasions such as birthdays or anniversaries. The possibilities are truly endless, and the process itself is incredibly rewarding.
Moreover, DIY clay magnets are an excellent way to recycle and repurpose materials. Many crafters use leftover clay from other projects or incorporate recycled items like bottle caps or buttons into their designs. This eco-friendly aspect makes clay magnets not only a fun project but also a sustainable one. In the next section, we’ll discuss the materials you’ll need to get started on your own clay magnet creations.
Materials You Need
Creating DIY clay magnets is a straightforward process, but having the right materials is essential for achieving the best results. Below is a list of the basic supplies you’ll need:
- Air-Dry Clay or Polymer Clay: Both types of clay are suitable for this project, but polymer clay requires baking to harden, while air-dry clay hardens naturally.
- Magnets: Small round or square magnets with adhesive backing work best.
- Acrylic Paints: Use these to add color and detail to your clay creations.
- Paintbrushes: A variety of brush sizes will help you achieve different effects.
- Rolling Pin: This is useful for flattening the clay to an even thickness.
- Crafting Tools: Items like sculpting tools, cookie cutters, and toothpicks can help you shape and texture the clay.
- Varnish or Sealant: This will protect your finished magnets and give them a polished look.
Optional Materials
- Glitter or Embellishments: Add a touch of sparkle or extra decoration to your magnets.
- Mod Podge: Use this to seal designs made with paper or fabric.
Having these materials on hand will ensure that you can focus on the creative process without interruptions. In the next section, we’ll walk you through a step-by-step guide to crafting your clay magnets.
Step-by-Step Guide
Now that you have all the necessary materials, let’s dive into the step-by-step process of creating your DIY clay magnets. Follow these instructions carefully to ensure your magnets turn out beautifully.
Read also:Discover The Beauty Of Natural Curly Hair Styles Short A Complete Guide
Step 1: Prepare Your Workspace
Before you begin, clear a flat surface and cover it with parchment paper or a silicone mat to prevent the clay from sticking. Gather all your materials so they’re within easy reach.
Step 2: Condition the Clay
If you’re using polymer clay, knead it thoroughly to make it pliable. For air-dry clay, ensure it’s soft and free of cracks. This step is crucial for achieving smooth and even results.
Step 3: Shape the Clay
Use a rolling pin to flatten the clay to your desired thickness, usually around 1/4 inch. Then, use cookie cutters or sculpting tools to create your desired shapes. Popular choices include stars, hearts, circles, and animals.
Step 4: Add Details
Use toothpicks, sculpting tools, or stamps to add textures and patterns to your clay shapes. You can also press small embellishments like beads or sequins into the clay for added flair.
Step 5: Bake or Dry the Clay
If you’re using polymer clay, bake it according to the manufacturer’s instructions. For air-dry clay, let it dry completely, which may take 24-48 hours depending on the thickness.
Step 6: Paint and Decorate
Once the clay is hardened, use acrylic paints to add color and detail. Allow the paint to dry completely before applying a layer of varnish or sealant to protect your design.
Step 7: Attach the Magnets
Finally, glue the small magnets to the back of your clay creations using a strong adhesive. Allow the glue to dry completely before using your magnets.
By following these steps, you’ll have a set of beautiful, handmade clay magnets ready to brighten up your space. In the next section, we’ll explore some creative design ideas to inspire your crafting journey.
Design Ideas for Your Clay Magnets
One of the most exciting aspects of creating DIY clay magnets is the opportunity to experiment with different designs. Whether you’re crafting for yourself or as gifts, here are some creative ideas to spark your imagination:
- Seasonal Themes: Create snowflakes for winter, flowers for spring, or pumpkins for fall. These magnets are perfect for adding a festive touch to your home decor.
- Animal Shapes: Craft cute animals like cats, dogs, or birds. These designs are especially popular with kids and can be customized with vibrant colors.
- Inspiration Quotes: Use letter stamps or hand-paint motivational words and phrases on your magnets. These can serve as daily reminders of positivity and encouragement.
- Miniature Food: Make tiny replicas of your favorite foods, such as pizza slices, donuts, or sushi rolls. These whimsical designs are sure to bring a smile to anyone’s face.
- Abstract Patterns: Experiment with geometric shapes, swirls, and gradients to create modern and artistic magnets.
Personalized Gifts
For a thoughtful gift, consider personalizing your clay magnets with the recipient’s initials, favorite colors, or hobbies. You can also create a set of magnets that tell a story, such as a series of travel-themed designs for a friend who loves to explore the world.
With these design ideas in mind, you can let your creativity run wild and make clay magnets that are truly one-of-a-kind. Next, we’ll share some tips and tricks to help you perfect your craft.
Tips and Tricks for Perfect Clay Magnets
Crafting clay magnets is a fun and rewarding activity, but there are a few tips and tricks that can help you achieve professional-looking results. Here’s what you need to know:
- Work on a Clean Surface: Dust and debris can mar the surface of your clay, so always start with a clean workspace.
- Use a Rolling Pin Spacer: To ensure even thickness, place wooden dowels or rulers on either side of the clay and roll the pin over them.
- Smooth Edges: Use your fingers or a damp brush to smooth out any rough edges on your clay shapes.
- Layer Colors: For a more dynamic look, layer different colors of clay or paint to create depth and dimension.
- Seal Properly: Apply multiple thin layers of varnish or sealant to protect your magnets from chipping or fading.
Troubleshooting Common Issues
- Cracking Clay: If your clay cracks while drying, try adding a small amount of water to rehydrate it.
- Poor Adhesion: If the magnets don’t stick well, use a stronger adhesive or roughen the back of the clay slightly before gluing.
These tips will help you avoid common pitfalls and ensure your clay magnets turn out beautifully every time. In the next section, we’ll discuss some mistakes to avoid during the crafting process.
Common Mistakes to Avoid
While DIY clay magnets are a beginner-friendly project, there are a few common mistakes that can affect the final outcome. Here’s what to watch out for:
- Skipping the Conditioning Step: Failing to condition the clay properly can result in uneven textures and cracks.
- Using Too Much Paint: Applying thick layers of paint can obscure fine details and make the magnets look messy.
- Not Allowing Enough Drying Time: Rushing the drying or baking process can lead to incomplete hardening and breakage.
- Overloading with Embellishments: Adding too many decorations can make the magnets bulky and difficult to attach securely.
How to Fix Mistakes
If you make a mistake, don’t worry! You can often fix issues like uneven shapes or paint smudges by reshaping the clay or repainting the affected areas. For more serious problems, simply start over with a fresh piece of clay.
By avoiding these common pitfalls, you’ll be well on your way to creating stunning clay magnets. Next, we’ll explore the benefits of engaging in DIY crafts for mental health.
Benefits of DIY Crafts for Mental Health
Engaging in DIY crafts like making clay magnets offers more than just a creative outlet. It also provides numerous mental health benefits that can improve your overall well-being. Here are some of the key advantages:
- Stress Relief: The repetitive and mindful nature of crafting helps reduce stress and promotes relaxation.
- Boosted Confidence: Completing a project gives you a sense of accomplishment and boosts self-esteem.
- Improved Focus: Crafting requires concentration, which can help sharpen your focus and attention span.
- Social Connection: Participating in group crafting activities fosters social interaction and strengthens relationships.
Therapeutic Benefits
Studies have shown that engaging in creative activities