Replacing the battery in your Honeywell motion sensor is a crucial task to ensure the device continues to function optimally. Whether you rely on it for home security or energy-saving purposes, a properly functioning motion sensor is essential. In this article, we will guide you through the process of replacing the battery in your Honeywell motion sensor, step by step. By following these instructions, you can extend the life of your device and maintain its performance.
Honeywell motion sensors are widely used for their reliability and efficiency. However, like any electronic device, they require regular maintenance, including battery replacement. Understanding how to replace the battery can save you time and money, as well as prevent potential security gaps. This guide is designed to provide you with all the information you need to perform this task confidently and correctly.
Before we dive into the details, it’s important to note that this article is written with both beginners and experienced users in mind. Whether you’re a homeowner or a professional installer, you’ll find the information here valuable. We’ll also cover some troubleshooting tips and answer common questions about Honeywell motion sensors. Let’s get started!
Read also:Discovering The Tallest Ceiling In The World Aweinspiring Architecture
Table of Contents
- Introduction to Honeywell Motion Sensors
- Tools and Materials Needed
- Step-by-Step Guide to Replacing the Battery
- Troubleshooting Common Issues
- Types of Batteries Compatible with Honeywell Motion Sensors
- Maintenance Tips for Longevity
- How Motion Sensors Help Save Energy
- Security Benefits of Motion Sensors
- Frequently Asked Questions
- Conclusion and Call to Action
Introduction to Honeywell Motion Sensors
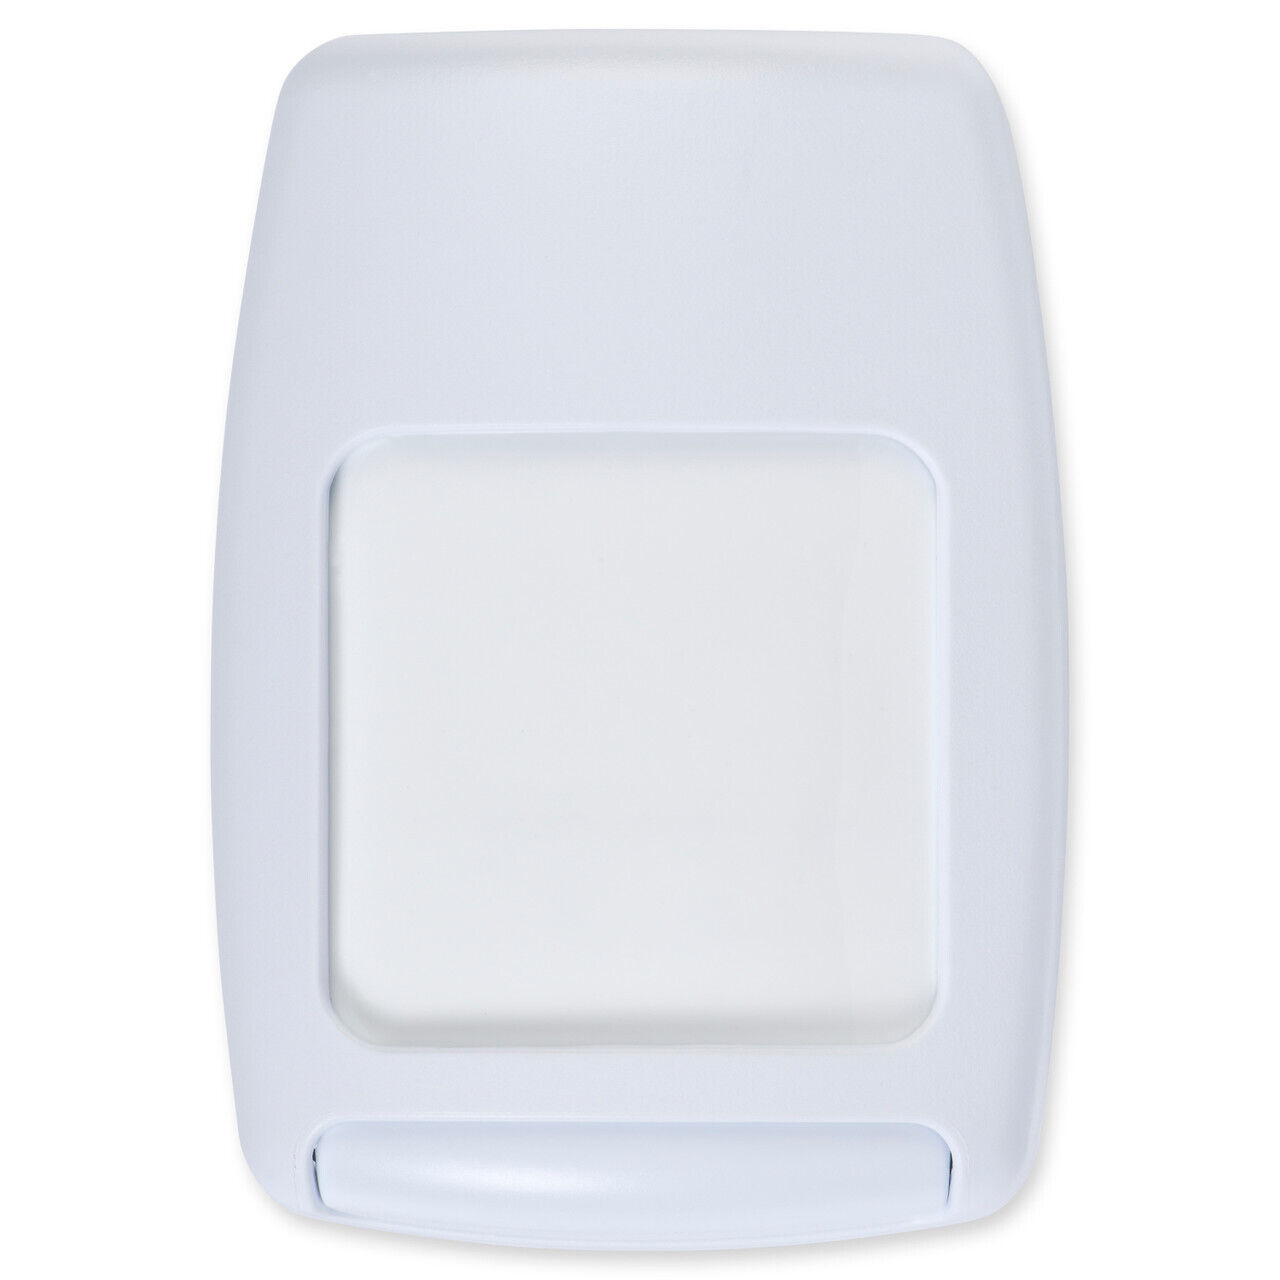
Honeywell is a trusted name in the world of home automation and security systems. Their motion sensors are designed to detect movement and trigger specific actions, such as turning on lights or alerting a security system. These devices are commonly used in residential and commercial settings to enhance safety and convenience.
One of the key features of Honeywell motion sensors is their reliability. They are built to last and are equipped with advanced technology to minimize false alarms. However, like any electronic device, they require periodic maintenance, including battery replacement. Understanding the basics of how these sensors work will help you appreciate the importance of keeping them in good condition.
How Motion Sensors Work
Honeywell motion sensors typically use passive infrared (PIR) technology to detect movement. They sense changes in infrared energy caused by moving objects, such as people or animals. Once motion is detected, the sensor sends a signal to the connected device, such as a light or alarm system.
Tools and Materials Needed
Before you begin the process of replacing the battery in your Honeywell motion sensor, it’s important to gather the necessary tools and materials. Having everything ready will make the task smoother and more efficient.
- Screwdriver (usually a Phillips-head)
- New battery (check the sensor’s manual for the correct type)
- Clean cloth or microfiber towel
- Owner’s manual (optional, but helpful)
Make sure the replacement battery is compatible with your specific Honeywell motion sensor model. Using the wrong type of battery can lead to performance issues or even damage the device.
Step-by-Step Guide to Replacing the Battery
Replacing the battery in your Honeywell motion sensor is a straightforward process. Follow these steps carefully to ensure the device continues to function properly.
Read also:Discover The Magic Of Saginaw Childrens Zoo A Family Adventure Awaits
Step 1: Turn Off the Power
Before opening the sensor, ensure the power is turned off. This is especially important if the sensor is connected to a larger system, such as a security network. Turning off the power prevents accidental triggers or damage to the sensor.
Step 2: Remove the Sensor Cover
Use a screwdriver to remove the screws holding the sensor cover in place. Be gentle to avoid damaging the device. Once the cover is removed, you’ll have access to the battery compartment.
Step 3: Replace the Battery
Remove the old battery and insert the new one, ensuring the polarity (+/-) is correct. Double-check the alignment to avoid any issues. Once the new battery is in place, reassemble the sensor by securing the cover with the screws.
Troubleshooting Common Issues
Even after replacing the battery, you might encounter some issues with your Honeywell motion sensor. Here are a few common problems and their solutions:
- No Detection: Ensure the sensor is clean and free of obstructions. Dust or dirt can interfere with its ability to detect motion.
- False Alarms: Adjust the sensitivity settings in the sensor’s configuration. High sensitivity can cause the sensor to trigger unnecessarily.
- Short Battery Life: Check if the sensor is exposed to extreme temperatures, which can drain the battery faster.
Types of Batteries Compatible with Honeywell Motion Sensors
Honeywell motion sensors typically use standard batteries, such as AA or CR2032. However, the exact type depends on the model. Always refer to the product manual or the manufacturer’s website for specific recommendations.
Choosing the Right Battery
When selecting a replacement battery, consider the following factors:
- Longevity: Opt for high-quality batteries that last longer.
- Environmental Impact: Choose rechargeable or eco-friendly options if possible.
- Compatibility: Ensure the battery matches the voltage and size requirements of your sensor.
Maintenance Tips for Longevity
To ensure your Honeywell motion sensor remains in top condition, follow these maintenance tips:
- Clean the sensor regularly to remove dust and debris.
- Check the battery periodically, even if it’s not completely drained.
- Test the sensor monthly to confirm it’s functioning correctly.
- Keep the sensor away from direct sunlight or extreme temperatures.
How Motion Sensors Help Save Energy
Honeywell motion sensors are not only useful for security but also for energy conservation. By automatically turning off lights or appliances when no motion is detected, they help reduce energy consumption and lower utility bills.
Applications in Smart Homes
In smart home systems, motion sensors are often integrated with other devices to create a seamless and energy-efficient environment. For example, they can be paired with smart thermostats to adjust the temperature based on occupancy.
Security Benefits of Motion Sensors
Motion sensors play a vital role in home security systems. They can detect unauthorized entry and trigger alarms or notifications, providing an additional layer of protection for your property.
Integration with Security Systems
Honeywell motion sensors are compatible with a wide range of security systems, making them a versatile choice for homeowners and businesses. They can be easily integrated into existing setups or used as standalone devices.
Frequently Asked Questions
Here are some common questions about replacing the battery in Honeywell motion sensors:
- How often should I replace the battery? Typically, every 6-12 months, depending on usage.
- Can I use rechargeable batteries? Yes, as long as they meet the sensor’s specifications.
- What should I do if the sensor still doesn’t work after replacing the battery? Check for wiring issues or consult the manual for troubleshooting steps.
Conclusion and Call to Action
Replacing the battery in your Honeywell motion sensor is a simple yet essential task to ensure the device continues to function properly. By following the steps outlined in this guide, you can maintain the performance of your sensor and enjoy its benefits for years to come.
If you found this article helpful, please share it with others who might benefit from it. Additionally, feel free to leave a comment or question below—we’d love to hear from you! For more tips and guides on home automation and security, explore our other articles.